Restoring your website using cPanel is quite simple. But before we proceed, a few prerequisites that you need to take care of:
- If you were using cPanel previously and have downloaded the backup from the Backup option, make sure to extract the backup folder and keep public_html folder separate.
- All your website files and folders that need to be published are under the public_html folder.
- To upload all files and folder together(recommended), compress(zip or tar) the contents inside public_html.(Please note do not compress the folder public_html, only the contents inside it.)
- Make sure that no other file or folder is present inside the public_html folder on your cPanel, this could result in a conflict incase of same file names.
Once you’ve got the above covered, you can get to restoring your website:
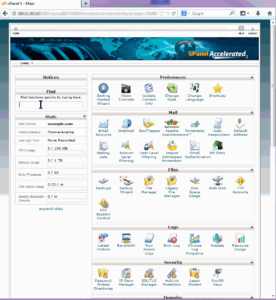
- Login to your cPanel.
- Scroll to Files section, click on ‘File Manager’.
- Select Web Root(public_html), click on GO.
- Click on ‘Upload’.
- Click on ‘Browse’ to select the file from your computer.
- Once the upload is complete, click on ‘Back to /home/username/public_html’.
- Click on compressed file icon to select the file and click on ‘Extract’.
- Do not make any changes to the path and click on ‘Extract File(s)’.
- Click close.
- If the Files have been extracted into a folder, open the folder.
- Select all files, click on ‘Move File’.
Under the destination path, keep the following ‘/public_html/’ and remove the folder name after it.
That’s it. You’ve successfully uploaded your website files. You could check your website by resolving your domain name on the browser.