Adding MX records on cPanel is super simple and won’t take more than 2 minutes. But before getting there, make sure that your domain is pointing to your hosting package name servers. If you still haven’t done this, click here to get it done. Once you’ve got that out of the way, you can proceed to modify MX records on cPanel. Here’s how you do it:
- Login to your cPanel.
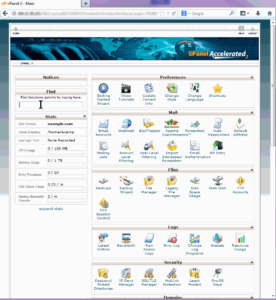
- Scroll to Mail section.
- Click on ‘MX Entry’.
- Select your domain name from the drop down list.
- Do not make any changes in the Email Routing section.
- Under the MX Records section, you can view the current MX records.
- Under Add New Record section, enter the Priority for the MX record.
- Enter the Destination/Value for the MX record.
Click on ‘Add New Record’.
That’s it. Once you make any changes in the DNS, give it about a couple of hours for DNS propagation to complete so that changes reflect globally.